Inviting your team
Establishing roles within your team
Access to your portal is role based. Each person sees exactly what they should.
Read-only access to your strategy, guidelines, and assets.
Can edit portal content: strategy, guidelines, and assets.
Everything an editor can do, plus managing the organization from Settings: inviting team members, setting their roles, domain sign-in, and billing.
Inviting members by email
Navigate to your profile icon at the top left of the page and click into admin.

Once in your admin page, click Portal Settings on the desired portal.
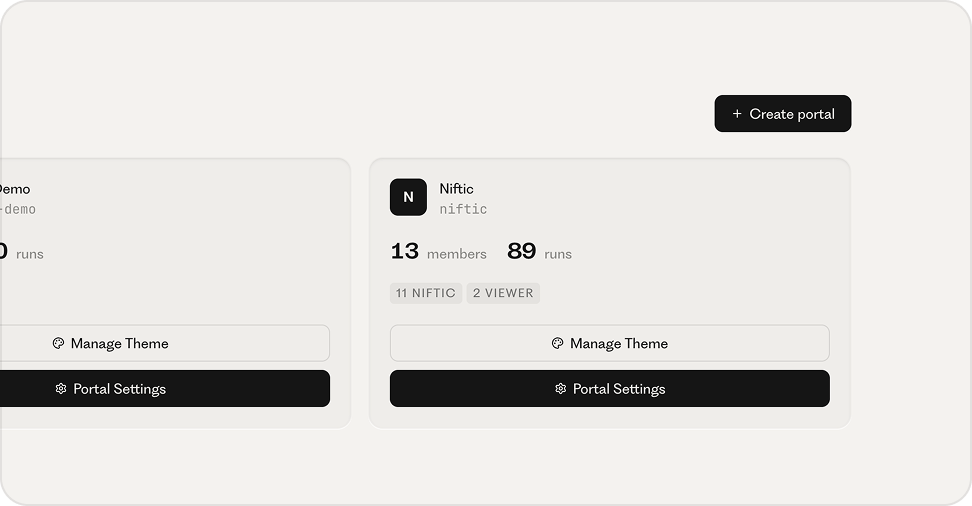
In your Portal Settings, scroll down under the members section to the email field. Add the person's email address and choose their role: viewer, editor, or owner.
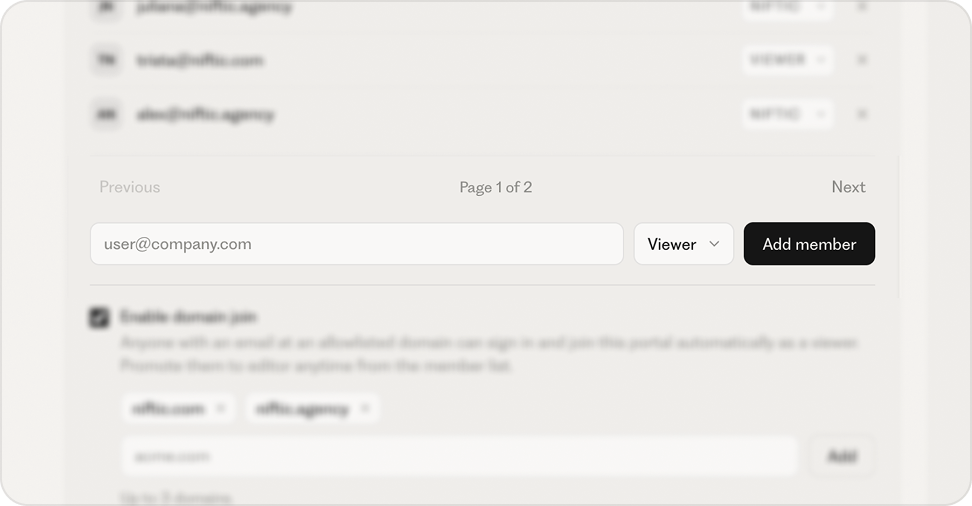
Done! The member should receive an invite with a magic link. One click signs them in. No password needed. Their role takes effect immediately, from the moment they arrive.
Inviting your whole team in one go
If you'd like to add your team all at once, an owner can turn on domain sign-in for your company's email domain. Anyone with a matching email address can sign in and join automatically as a viewer. An owner can then promote them from the member list. Personal email providers like Gmail or Outlook do not qualify, so only your real team gets in.
Navigate to your profile icon at the top left of the page and click into admin.
Once in your admin page, click Portal Settings.
Type your domain in the input field and click Add. You will see the domain pop up above the text field.
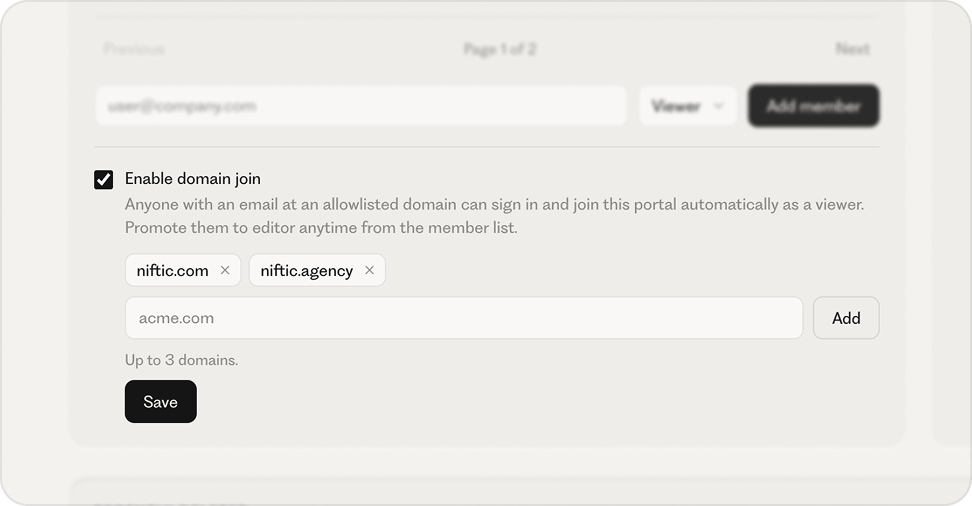
Click save and you are good to go! Anyone with a matching email address can sign in and join automatically as a viewer.